How to Capture Leads from Multiple Platforms and Build a Single Source of Truth in Airtable
Key Takeaways
Collecting leads from multiple platforms like Kajabi, Circle, and ClickFunnels often results in inconsistent, fragmented data that's difficult to act on.
Using Zapier to connect your lead capture forms to Airtable creates a centralized, reliable lead database.
Standardizing form fields and data formats across all lead sources is essential before building any automation.
Airtable's formula fields can automatically calculate lead scores based on form responses, enabling smarter lead routing.
A well-structured lead management system can save 10+ hours per week of manual data consolidation and troubleshooting.
If you're generating leads from multiple platforms, you've probably felt the pain of fragmented data. Information lives in three different places. Field names don't match. Your sales team wastes hours every week just trying to figure out what's going on.
This guide will walk you through exactly how to fix that. You'll learn how to consolidate leads from multiple sources into Airtable, automate lead scoring, and route leads to the right next step — all without manual data entry.
We recently implemented this exact system for a client, and I'll share what we learned along the way.
Before You Start: Understand the Problem
When you're collecting leads from multiple platforms — say, Kajabi for course pages, Circle for community signups, and ClickFunnels for sales funnels — each platform captures data differently. Field names vary. Some forms collect phone numbers, others don't. Attribution data gets lost.
The result is a database full of inconsistent records that require manual cleanup before you can do anything useful with them.
What we saw with our client: They were already sending leads to Airtable, but the data was a mess. Fields didn't match across sources. Lead attribution was completely broken. The team had no idea which channels were actually driving results, and they couldn't prioritize leads effectively because the data was incomplete.
If any of this sounds familiar, here's how to fix it.
Step 1: Audit Your Existing Forms
Before you build any automation, you need to understand what you're working with.
Create a simple spreadsheet and document every form across every platform. For each form, list:
Platform (Kajabi, Circle, ClickFunnels, etc.)
Form tool (Typeform, Paperform, native form, etc.)
Fields captured (name, email, phone, company, etc.)
Any qualifying questions
Where the data currently goes
This audit will reveal the gaps and inconsistencies you need to fix.
What we found: Our client had three lead sources with three different forms. One captured phone numbers, another didn't. Qualifying questions varied. There was no consistent "lead source" field, so attribution was impossible. The audit took about two hours but saved us days of troubleshooting later.
Step 2: Standardize Your Form Fields
Once you've completed your audit, define a standard field structure that every form will use. At minimum, you'll want:
Name (or First Name / Last Name)
Email
Phone (if relevant to your sales process)
Lead Source (which platform/campaign they came from)
Qualifying Questions (budget, timeline, company size — whatever matters for your scoring)
Now update each form to capture these fields consistently. Use the same field names and formats across all forms. This consistency is what makes downstream automation possible.
Pro tip: For lead source tracking, don't rely on users to self-report. Use hidden fields that auto-populate based on UTM parameters or the form's location. This gives you accurate attribution without adding friction to the form.
Step 3: Set Up Your Airtable Base
Your Airtable base is your single source of truth. Set it up to receive standardized data from all your forms.
Create a "Leads" table with columns matching your standardized fields:
Name
Email
Phone
Lead Source
Qualifying fields (as many as needed)
Lead Status (we'll automate this in Step 5)
Created Date
Last Updated
Keep your table structure clean and avoid creating separate tables for each lead source. The whole point is consolidation.
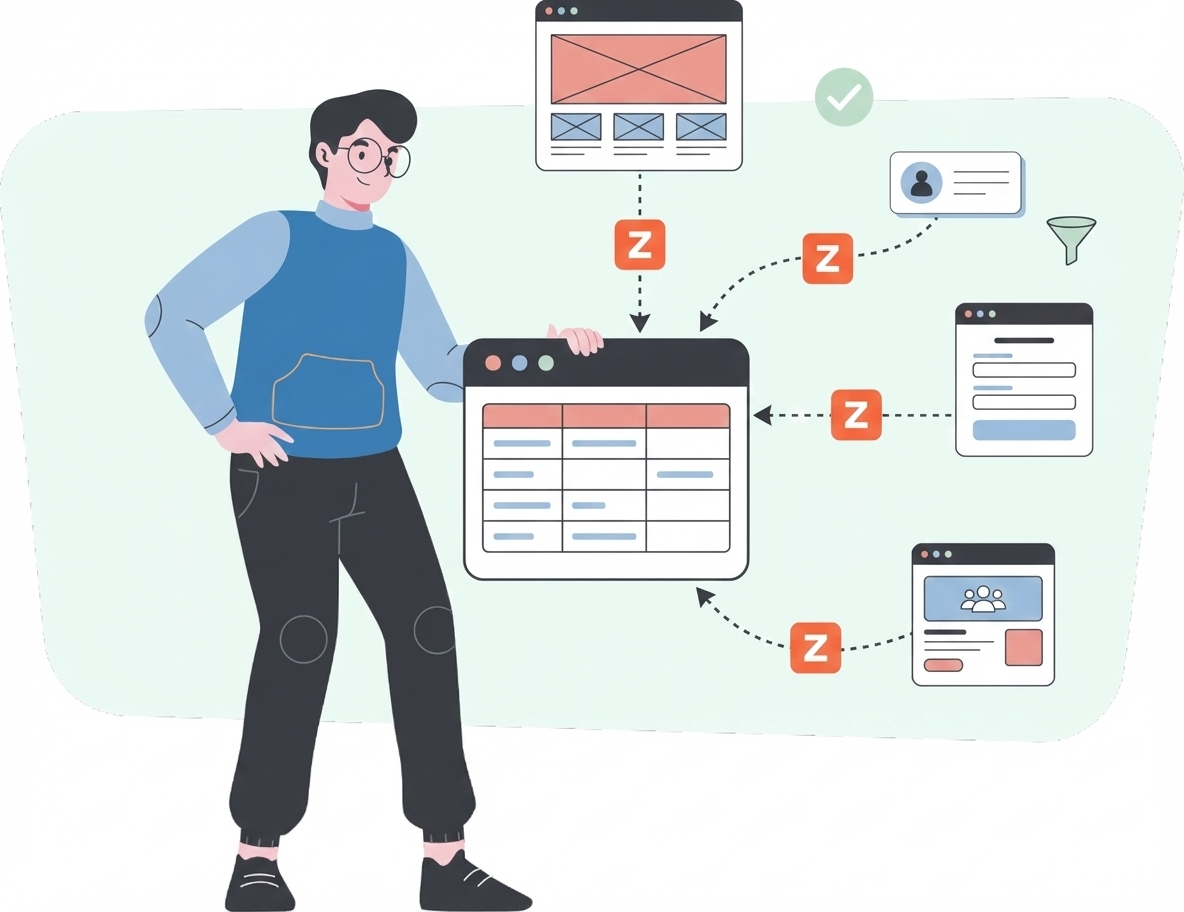
Step 4: Build Zapier Workflows for Each Lead Source
Now connect each form to Airtable via Zapier. Each Zap follows the same basic logic:
Trigger: New form submission (in Typeform, Paperform, etc.)
Action: Create record in Airtable
When mapping fields, ensure each form field maps to the correct Airtable column. Pay special attention to the Lead Source field — this should be set automatically based on which Zap is running, not pulled from the form.
How we handled it: For our client, we built three separate Zaps — one for each lead source. Each Zap mapped to the same Airtable table with identical field mapping. The only difference was the Lead Source value, which we hardcoded in each Zap. This gave us clean, consistent data with perfect attribution from day one.
Pro tip: Name your Zaps clearly (e.g., "Kajabi Typeform → Airtable Leads") so you can troubleshoot quickly when something breaks.
Step 5: Automate Lead Scoring in Airtable
Raw lead data is only useful if you can act on it quickly. Instead of manually reviewing each lead, build scoring logic directly into Airtable.
Create a formula field called "Lead Score" or "Lead Status" that evaluates your qualifying fields and outputs a status: Hot, Warm, or Cold.
Adjust the logic based on what actually predicts conversion in your business. The key is that scoring happens instantly, without any manual input.
What worked for our client: Their qualifying questions focused on business size and urgency. We built a formula that weighted these responses and output a clear status. The sales team could now filter by "Hot" leads and prioritize their outreach immediately — no more guessing.
Step 6: Set Up Automated Lead Routing
With lead scores in place, you can automate what happens next.
For Hot leads: Route them to a high-intent landing page where they can book a call immediately. Connect Calendly (or your scheduling tool) to Airtable via Zapier so that when someone books, their lead record is automatically updated.
For Warm leads: Trigger a nurture email sequence. You can do this via Zapier connected to your email platform, or use Airtable's native automations if you have a Pro plan.
For Cold leads: Tag them for future follow-up or add them to a longer-term nurture campaign.
The goal is that every lead gets an appropriate next step without anyone manually triaging.
The result for our client: Hot leads went straight to a booking page. When they scheduled via Calendly, their Airtable record updated automatically with the meeting details. The sales team walked into every call knowing exactly who they were talking to and where they came from.
Step 7: Test Everything Before Going Live
Before you turn on your Zaps, test each workflow end-to-end:
Submit a test entry on each form
Verify the data lands in Airtable with correct field mapping
Check that the lead score calculates correctly
Confirm any routing automations trigger as expected
Fix any issues before real leads start flowing through.
Pro tip: Keep your test records in Airtable for reference, but mark them clearly (e.g., add a "Test" checkbox field) so you can filter them out of reports later.
The Results: What to Expect
Once this system is running, you'll have:
One clean database with all leads from all sources
Automatic attribution so you know which channels are working
Instant lead scoring so your team can prioritize
Automated routing so leads get the right next step without manual work
What our client gained: Before this system, someone spent hours every week consolidating data and troubleshooting broken reports. After implementation, that manual work disappeared — we estimate at least 10 hours per week saved. More importantly, the sales team finally trusted the data and could act on it confidently.
Common Pitfalls to Avoid
Don't skip the audit. It's tempting to jump straight to building Zaps, but you'll waste time fixing inconsistencies later.
Don't create separate Airtable tables for each source. Consolidation is the goal. Use a single table with a "Lead Source" field.
Don't overcomplicate your lead scoring. Start simple. You can always add sophistication later once you see how leads actually convert.
Don't forget to document. Write down how each Zap works and what your scoring formula evaluates. Future you (or your team) will thank you.
What's Next
This system gives you clean, consolidated lead data. But data sitting in Airtable doesn't tell you what's actually working. In the next post, we'll cover how to connect Airtable to Amplitude for conversion funnel analysis, attribution reporting, and A/B testing between lead sources.
Need help building a lead management system that actually works? Schedule a free discovery call and let's talk about your setup.